Today’s article isn’t my usual travel blog post. Creating a Maluwana is an experience of ancient traditions. We can travel around the world and count countries, but in the end, what I love the most about travel is learning and understanding other cultures. For this reason, I really hope you’ll enjoy the read and please let me know in the comments if you would like to read more posts like this.
Disclosure: anitabeyondthesea.com is reader-supported. When you make a reservation through links on my site, I may earn an affiliate commission, at no extra cost for you. That will help me keep the blog up and running. Thank you!
In This Article
Planning a trip to French Guiana?
Save money and time with the best companies!
✈️ Find the best flight deals on Skyscanner.
🏨 Looking for an accommodation? Booking is the place to go!
🎡 Add more emotions to your trip with GetYourGuide and Viator.
🚗 Need a car for your trip? Book the best one with Discover Cars.
📱 Avoid losing your connection by buying an eSim from Airalo.
The History of Maluwana
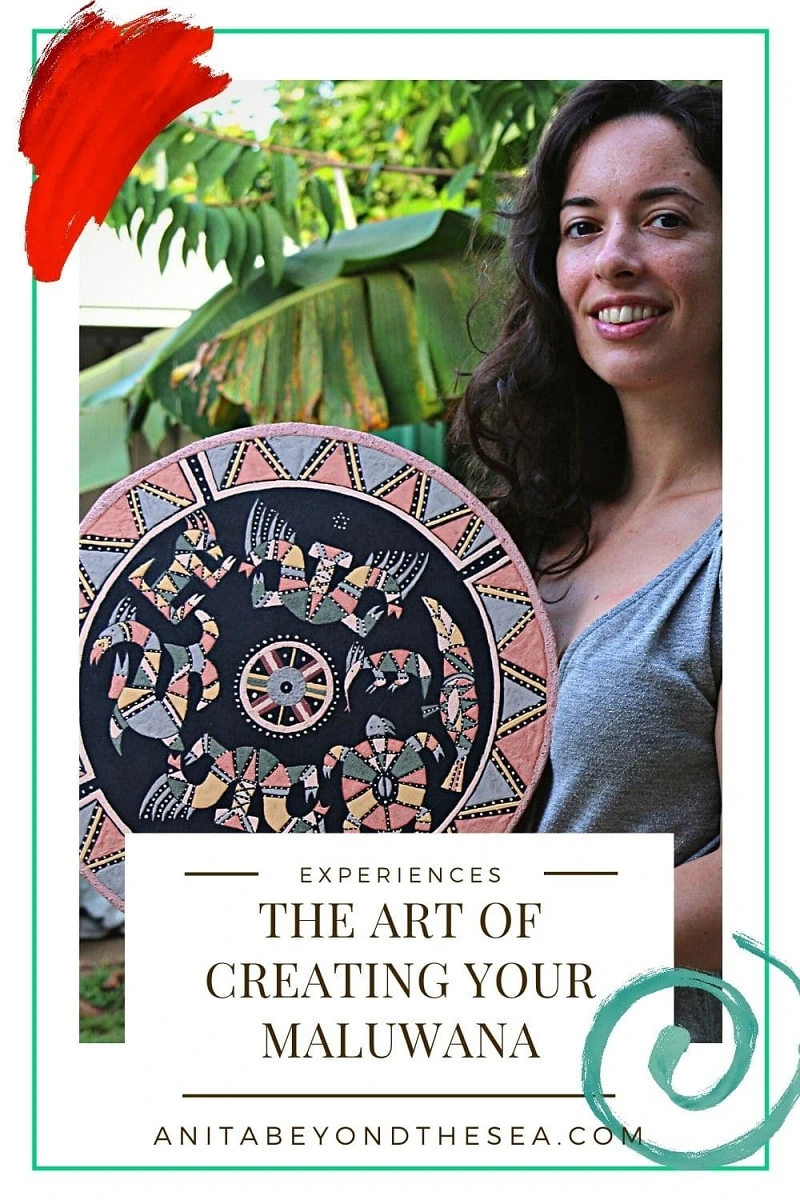
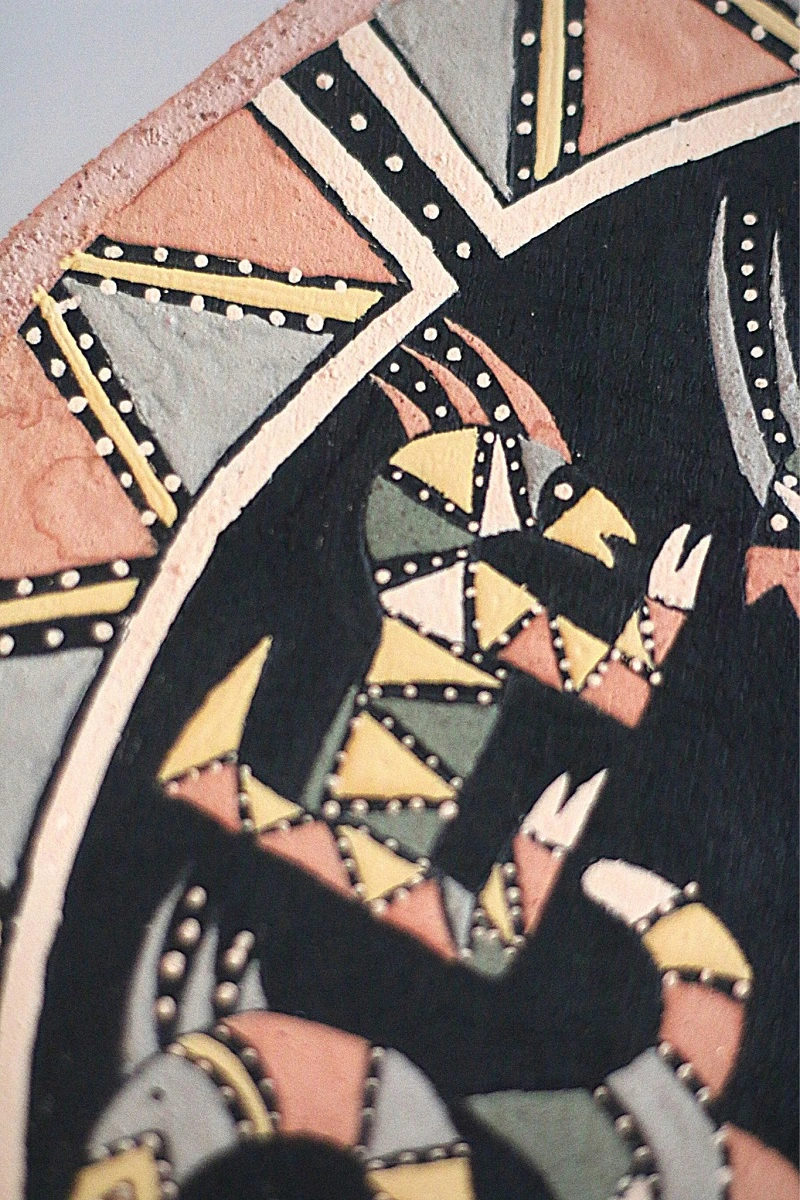
Coming from the traditions of the Indigenous Wayana, the Maluwana, in English that can be translated as roof circle, is a circular section of wood. It’s situated under the roof, in the central pole of Tukusipan which is a community hut.
The symbolism behind its decoration represented originally the mythical monsters that the Wayana people killed during their genesis, the crested caterpillars. Gradually the animals of the forest were added as elements of the decoration.
The legend says that a man who was hunting got lost in the forest. After wandering for a while, he heard music coming from deeper into the forest. The notes led him to a village inhabited by spirits. Those spirits taught him the art of Maluwana and how to build the Tukusipan so that he could share his knowledge with his village and protect his people from evil spirits.
Although we don’t know the exact moment Wayana started crafting Maluwanas, the historians affirm that their genesis goes back to when the Amerindians started working with metal tools such as chisels, etc… That was around the 19th century. Also, the first testimonies date back to that period.
At first, artisans used natural pigments to craft their works. But gradually, in the mid-20th century, industrial painting became more popular. Today smaller versions of the Maluwana have become very popular as decoration objects.
The workshop: create your Maluwana
Ti’Wan Couchili is the first Teko woman sculptor working on wood. Her workshop will teach you the ancient techniques of crafting Malwana, and you will get to leave with your amazing creation!
Let’s see step by step the creation of Maluwana.
What you will need: ruler, cutter (or a chisel may be best), compass, pencil, and rubber.
Starting from the circular section
The wood section comes from Kapok trees. Once the whole piece is cut, they paint it with a black protective layer, and its borders are covered with clay. From that step on the creation of the Maluwana is fully in your hands.
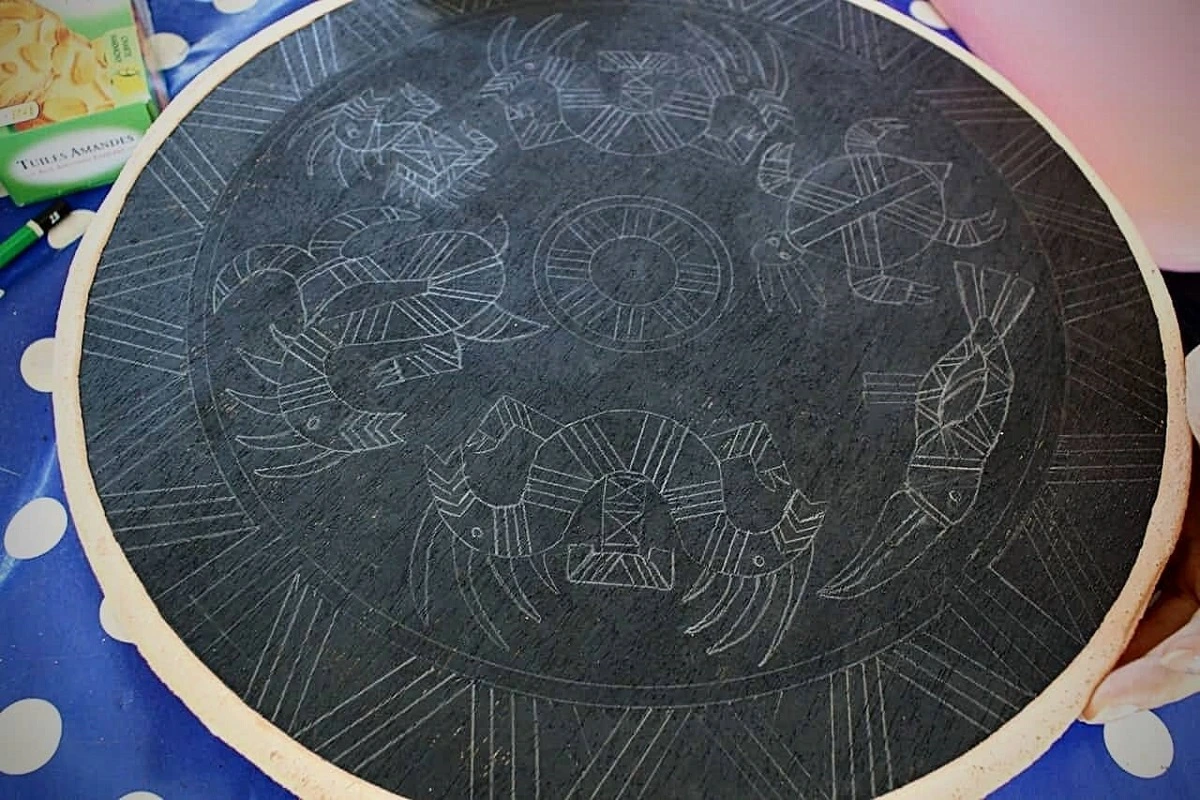
First, you start by creating the external patterns. Those decorations are often triangular shapes that recall a boa constrictor’s tail. Once you draw them with your pencil, Ti’Wan will guide you to choose the animals.
Choosing the animals for your Maluwana
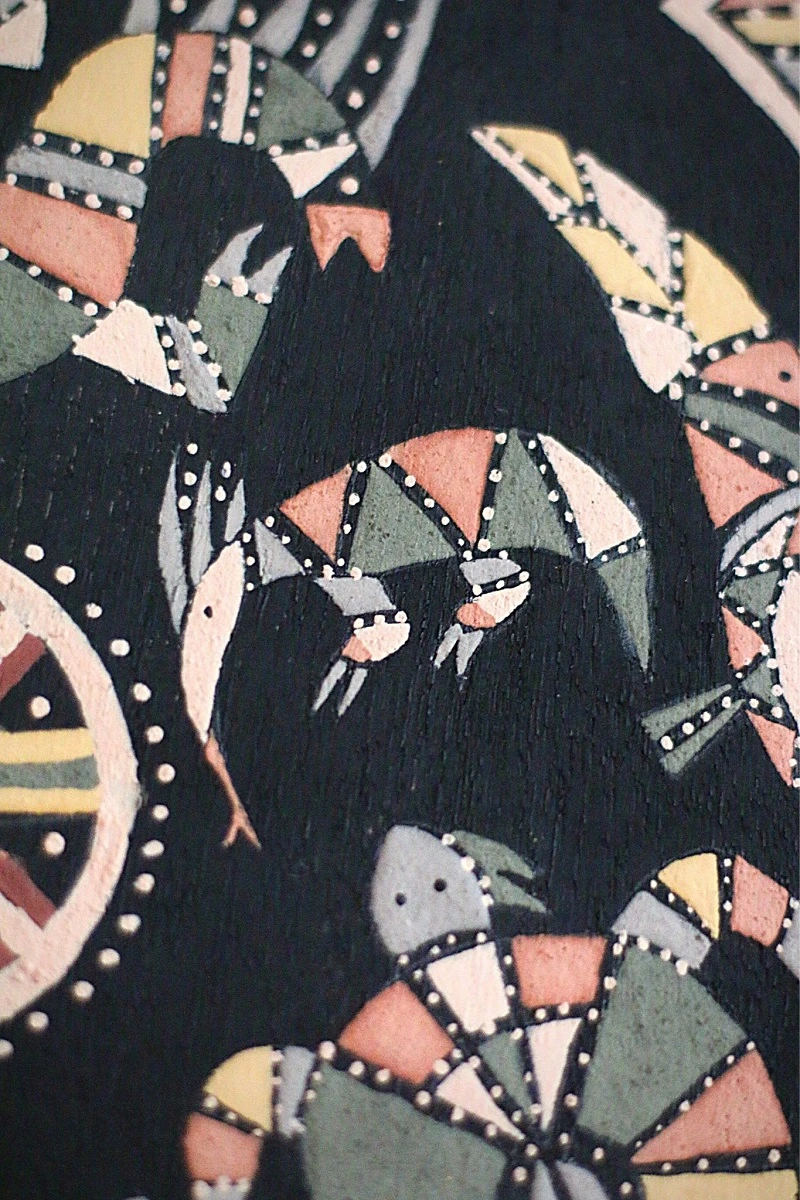
When it comes to choosing the animals, you have only an “obligation”, to draw the two giant crested caterpillars that protect from evil spirits. The choice of the other animals and the number you want to represent is very personal.
I chose the river spirit, the jaguar, a turtle, the toucan, and an anteater.
Once you chose your animals you can start to draw them. Ti’Wan created carton-shaped figurines that will help draw the borders. Then you will create smaller sections inside your animals so that you can paint them in different colors.
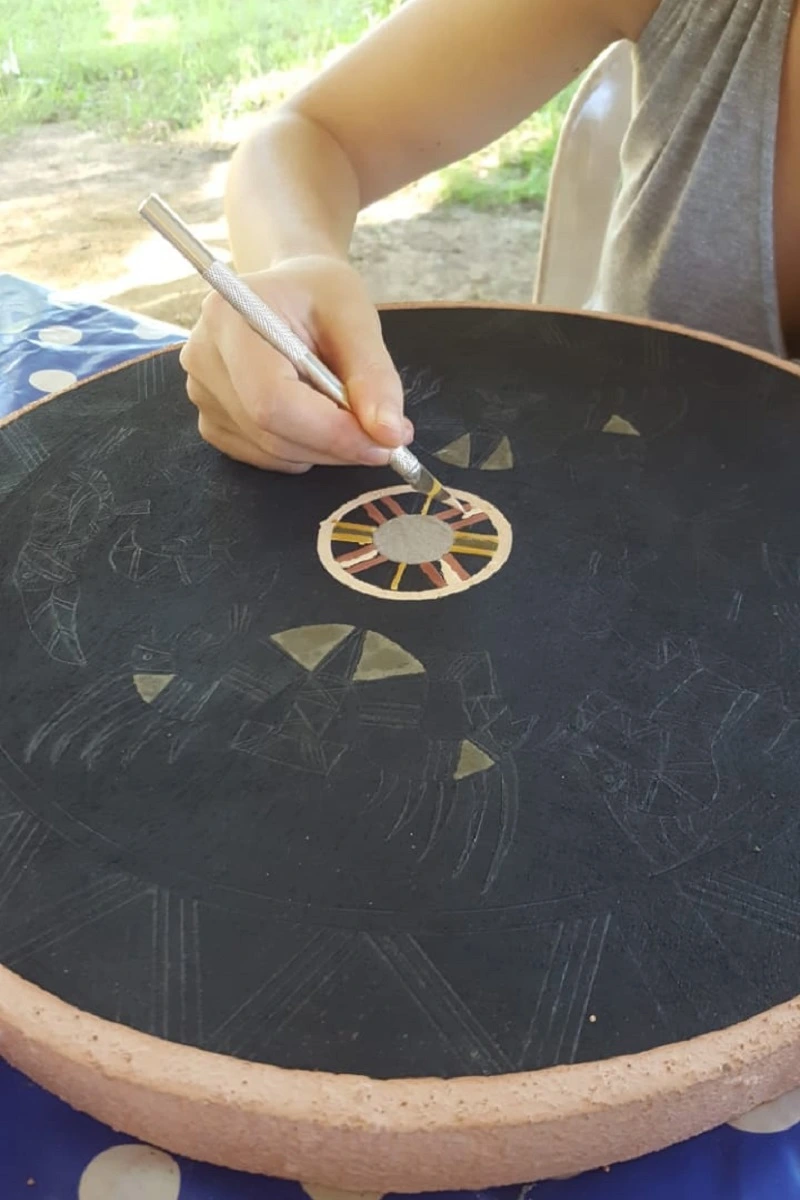
The last step before coloring is carving, with the cutter or chisel, you must carve all the lines. As a result, the colors that are liquid won’t pour onto other sections. This is probably the most tiring part of the workshop and be prepared, your hands will be in pain after carving all the lines!


Coloring your work of art
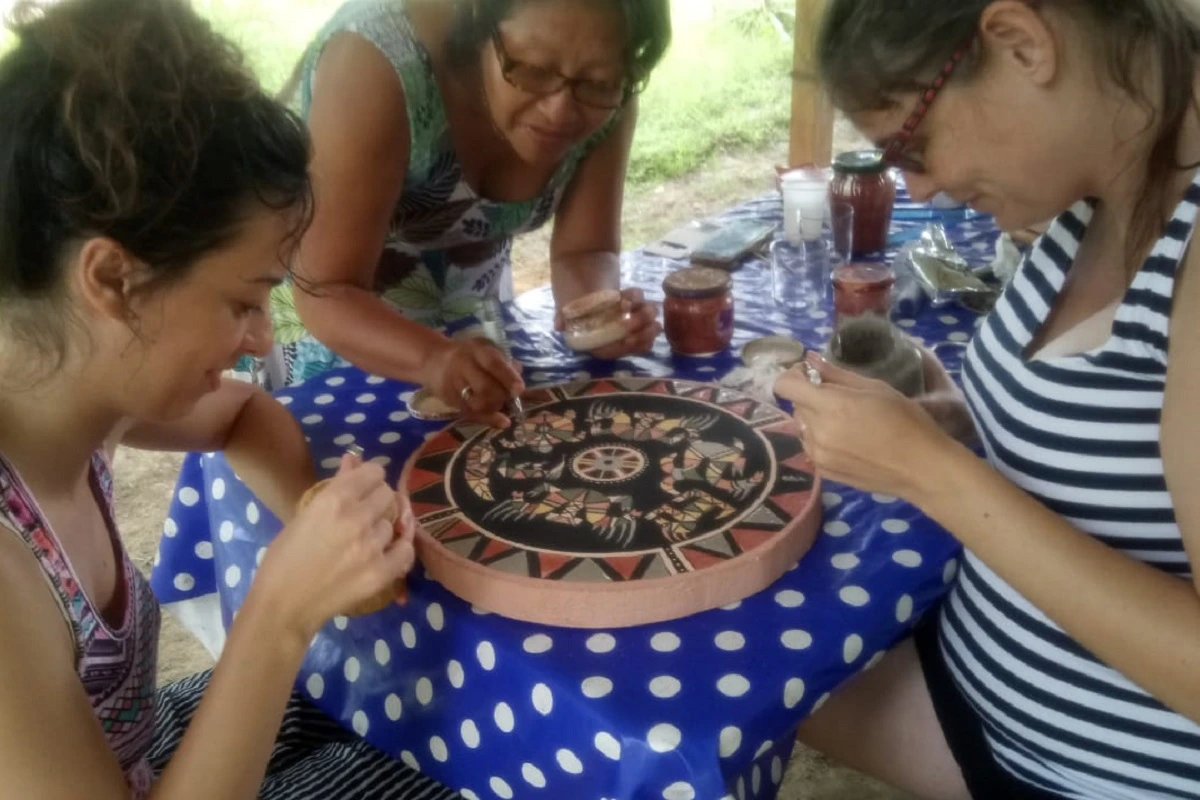
Now you are ready for the next and final step: the coloring. What I love the most about this workshop is being able to paint by using the ancient technique.
Ti’Wan prepares many different jars containing all the colors that she obtains by picking the natural pigments from the riverside or the forest. Once they are diluted with some water, you can use them like watercolors in the different sections of the Maluwana.
If you are a perfectionist this part may be veeery long, as it happened to me.
Going to French Guiana? Our top posts for your trip to French Guiana


In conclusion
The workshop duration is two full days.
For the price (200€) you will get to create a customized Maluwana and launch is included also, Ti’Wan is an excellent cook. Note that the price for an original creation of the same size and made with natural pigments starts from 250-280€.
Unfortunately, the workshop has not reopened since 2020. In case you are interested in buying an original Maluwana, you can visit the GADEPAM, French Guiana’s crafters shop in Cayenne.
Do you want to know more about French Guiana? Find more inspiration on the Amazonian adventures-related posts.
Have you liked this post? Sharing is caring!